Mastering the Art of Serger Sewing
Forget staring at that beautiful, complicated machine in the corner of your sewing room with a mix of awe and trepidation. It’s time to conquer it. You’ve likely dabbled in straight stitching, maybe even tackled a few tricky seams, but you’re ready for the next level of professional polish. That’s where the serger comes in. It’s not just a souped-up sewing machine; it’s a transformative tool that can elevate your projects from homemade to haute couture, or at least, from functional to fantastically finished. Mastering the art of serger sewing isn’t about memorizing a thousand steps; it’s about understanding the core principles, gaining confidence through practice, and embracing the speed and efficiency it offers. This guide is designed to demystify the serger, empowering you to turn that intimidating machine into your most trusted creative companion.
Before you even thread a single needle, let’s get acquainted with the beast. Your serger is a marvel of engineering, designed to do several things simultaneously: cut your fabric edge, stitch it with multiple threads, and trim the excess, all in one swift pass. This isn’t about replacing your sewing machine, but about augmenting its capabilities, especially for tasks that would be time-consuming and less professional on a conventional machine.
The Anatomy of a Serger
Take a moment to really look at your serger. Identify its key components:
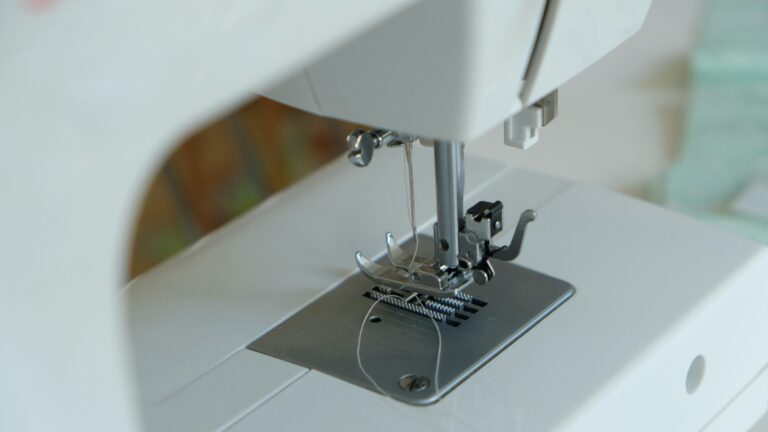
The Cutting System
This is where your serger truly differentiates itself. You’ll notice a blade, usually on the right side. This blade is sharp and trims your fabric as you sew. Understanding its role is crucial for consistently neat edges. Knowing if your blade is adjustable or removable is also important for maintenance and for specific techniques.
The Looper System
This is the heart of the serger’s stitching. Unlike your sewing machine’s bobbin, the serger uses loopers to create its overlock stitches. You typically have an upper looper and a lower looper. Familiarize yourself with their paths and how they interact to form the stitch.
The Needles
Most sergers use standard sewing machine needles, but it’s essential to use the correct type and size for your fabric. Consider different needle systems for different fabrics, such as ballpoint for knits or sharp needles for wovens.
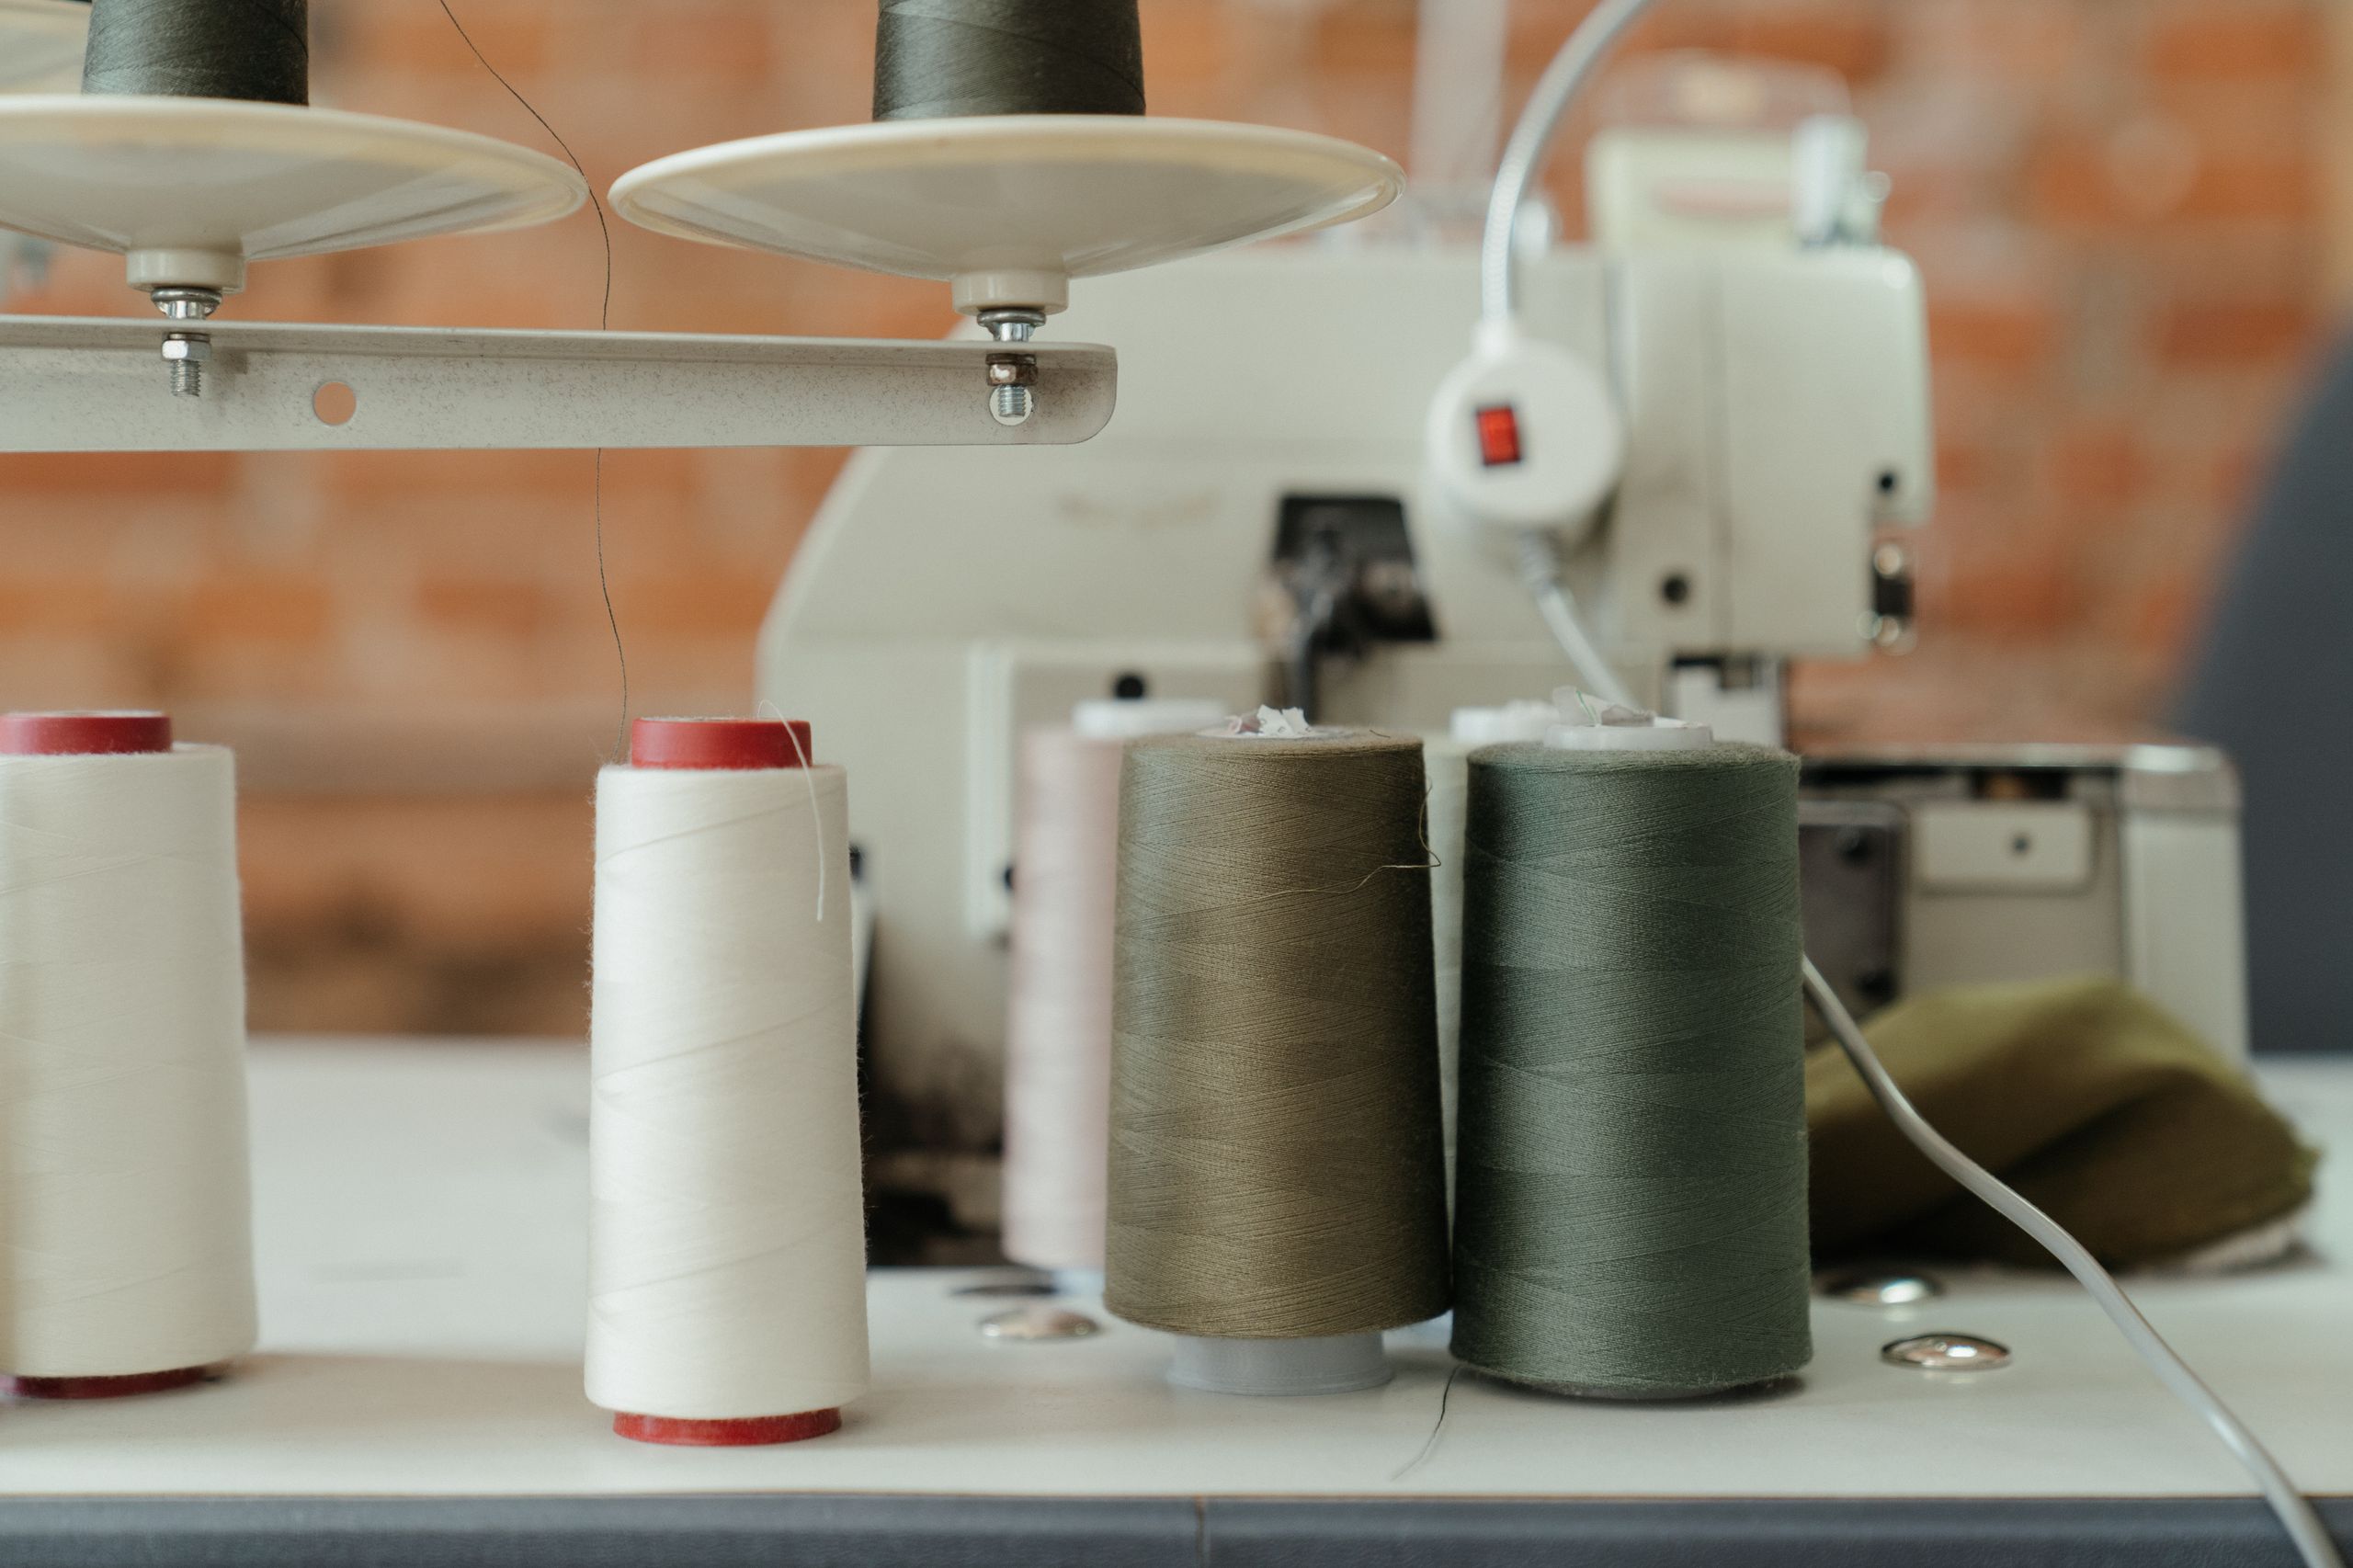
The Threading Paths
This is often the most daunting aspect for beginners. Each serger has a specific threading path, indicated by color-coded guides. Understanding this path is critical for successful stitching.
The Tension Dials
Each thread has its own tension dial. Mastering these is the key to achieving perfect stitches, preventing skipped stitches, or fabric puckering.
The Differential Feed
This is a game-changer for knits. The differential feed controls how the fabric is fed under the presser foot. You can adjust it to gather or stretch your fabric as you sew, which is invaluable for preventing wavy seams on stretchy materials.
Serger Stitches: What Can It Actually Do?
While the most common stitch is the overlock, your serger is capable of much more. Understanding these different stitch types will expand your creative horizons.
The 3-Thread Overlock
This is your go-to for finishing seams, preventing fraying, and for light-duty construction on many fabrics. It uses three threads and one or two needles.
The 4-Thread Overlock
This stitch is stronger and more secure than the 3-thread overlock. It uses four threads and two needles, making it ideal for constructing garments where durability is essential, like on seams that will experience stress.
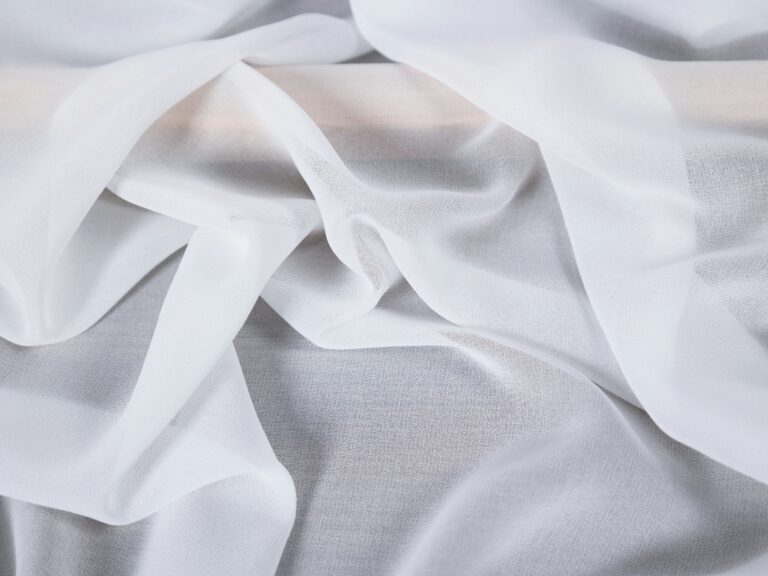
The Rolled Hem
A delicate and beautiful finish, the rolled hem is perfect for lightweight fabrics like silk, chiffon, and cotton voile. It’s a narrow, tightly folded hem that creates a professional edge.
The Flatlock Stitch
This stitch lies flat on the fabric and creates a decorative seam that can be used for joining fabrics or for decorative effects. It’s particularly effective on knits for a sporty look.
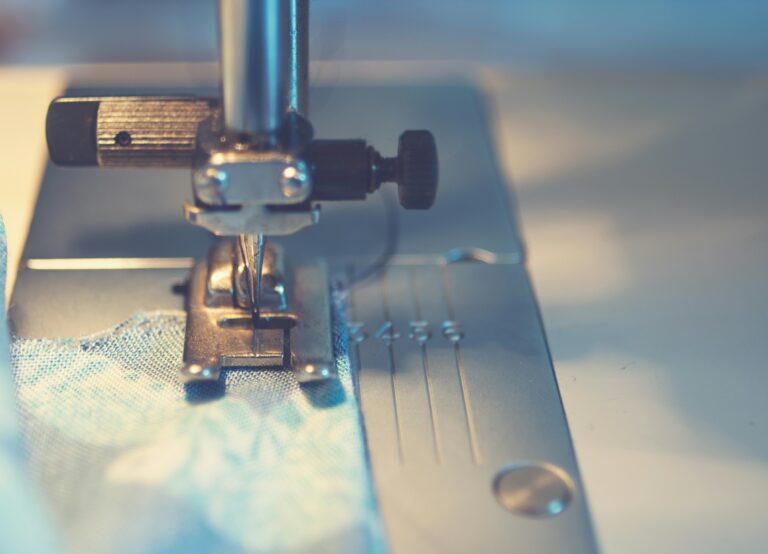
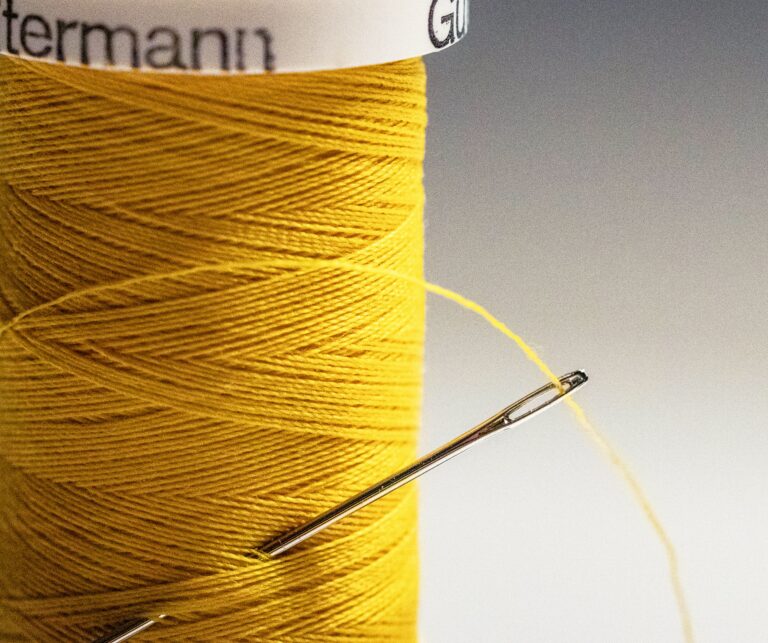
The Foundation of Success: Threading and Tension
Let’s be honest, threading a serger can feel like performing surgery on delicate silk. It has more threads than your sewing machine, and the paths can seem intricate. But with patience and a systematic approach, you’ll be threading like a pro in no time. And once you’ve mastered threading, you’ll move on to the equally crucial step of tension.
The Art of Threading: A Step-by-Step Approach
Each serger is a little different, so always consult your manual first. However, the general principles remain consistent:
Prioritize Your Loopers
Most serger manuals will advise you to thread the loopers before threading the needles. This is because the loopers are generally more complex to access and pass thread through.
Follow the Color Codes Religiously
Your serger will have color-coded paths for each thread. Do not deviate from these. Each color corresponds to a specific tension dial and a specific part of the looper or needle system.
Engage the Threading Path with Care
When threading, make sure to move the presser foot up. This opens up the tension discs and allows the thread to pass through smoothly. For the loopers, you’ll often need to manually move the presser foot or engage a special threading lever to access the critical areas.
Don’t Be Afraid to Re-thread
If your stitches look wonky, the first thing to suspect is improper threading. It’s better to take five minutes to re-thread correctly than to struggle with poor results.
Practice with Scrap Fabric
Before you even think about your project, thread your serger with colored thread that contrasts with your practice fabric. This makes it easy to see exactly where each thread is going and where the stitches are forming.
Mastering Tension: The Key to the Perfect Stitch
Tension is the balancing act between all the threads working together to form a strong, neat stitch. When the tension is out of balance, you’ll see loops, skipped stitches, or puckering.
The “Joke” Thread
A common way to visualize serger tension is to think of each thread wanting to “joke” with the other threads. The upper looper thread should meet the lower looper thread, and the needle threads should meet the fabric edge without excessive tension or looseness.
Recognizing Tension Problems
- Looping on the Top Fabric: This usually means your lower looper thread is too loose, or your upper looper thread is too tight.
- Looping on the Underside of the Fabric: This typically indicates your upper looper thread is too loose, or your lower looper thread is too tight.
- Skipped Stitches: This can be caused by threads being too tight, incorrect needle insertion, or a need for a new needle.
- Puckering: This is often a sign that the tension is too tight overall, or that the differential feed needs adjustment.
The Tension Dial Dance
Start with the recommended settings in your manual and then make small adjustments. Turn the dials incrementally and test on scrap fabric after each adjustment. Remember that fabric type and weight will influence the ideal tension settings.
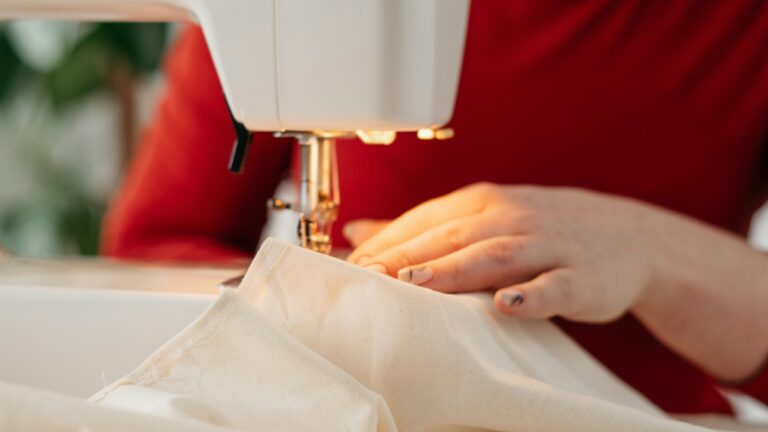
Mastering Fabric Handling: Feeding and Guides

Your serger is designed for speed, but that speed requires a different approach to fabric handling than your conventional sewing machine. Learning to guide the fabric, rather than push or pull it, is paramount.
The Differential Feed: Your Secret Weapon for Knits
As mentioned before, the differential feed is a lifesaver for knit fabrics. It allows you to control how the fabric is gathered or stretched as it passes under the presser foot.
Setting the Differential Feed for Different Fabrics
- Standard (N1): For most wovens and stable knits, set the differential feed to its neutral position.
- Gathering (N2): To create a gathered or ruffled effect, set the differential feed to a higher setting (e.g., N2 or higher). The feed dogs will work at different speeds, causing the fabric to pleat.
- Stretching (N0.5/N0.7): To prevent wavy seams on very stretchy knits, set the differential feed to a lower setting (e.g., N0.5 or N0.7). This elongates the stitches slightly, allowing the fabric to stretch without pulling the seam out of shape.
Experimentation is Key
Don’t be afraid to play with the differential feed. Test it on scraps of your specific fabric to find the perfect setting for your project.
Guiding the Fabric: The Gentle Touch
Unlike a sewing machine where you might gently guide the fabric, with a serger, you want to let the machine do the work.
Let the Serger Feed
The feed dogs on your serger are designed to move the fabric. Your job is to simply guide it along the cutting line or the desired seam allowance. Avoid pushing or pulling the fabric, as this can distort the stitches and cause unevenness.
Using the Guides
Most sergers have markings on the presser foot or the needle plate that indicate common seam allowances (e.g., 1/4 inch, 3/8 inch, 5/8 inch). Align the edge of your fabric with these markings.
Maintaining a Steady Flow
Try to maintain a consistent speed as you feed the fabric. This will ensure even stitches and a clean cut.
Beyond the Basics: Advanced Serger Techniques

Once you’ve gained confidence with the fundamental operations, it’s time to explore the more advanced capabilities of your serger. These techniques will truly unlock its potential and allow you to create professional-looking finishes.
Rolled Hems for Delicate Fabrics
The rolled hem is a beautiful way to finish the edges of lightweight and drapey fabrics. It creates a narrow, tightly folded edge that looks elegant and professional.
Preparing for the Rolled Hem
- Sewing Machine Preparation: You’ll often need to prepare the fabric edge on your sewing machine first. This typically involves folding the edge over once, pressing, and then stitching a narrow seam (this helps pre-fold it).
- Serger Setup: Consult your manual to set up your serger for a rolled hem. This usually involves disengaging one needle, selecting a specific stitch setting, and often adjusting the throat plate. You’ll typically need to thread with three threads.
The Rolled Hem Process
Once set up, you’ll feed the fabric edge into the serger, and it will automatically roll and stitch the hem. It takes practice to get the fabric feeding into the small rolled groove consistently, but the results are stunning.
Flatlock Stitch for Decorative Seams
The flatlock stitch is a versatile stitch that can be used for both functional and decorative purposes. It creates a seam that lies flat, with both right and wrong sides looking similar.
Applications of the Flatlock
- Joining Fabrics: On knit fabrics, it can create sporty, visible seams that are also strong.
- Adding Decorative Bands: Imagine a striped band added to the side seam of a t-shirt.
- Embellishment: Using contrasting threads, you can create interesting textural designs.
Setting Up for Flatlock
This usually involves adjusting the differential feed, disengaging one needle, and manipulating the looper threads to lay flat. Again, your manual is your best friend here.
Inserting Zippers with Your Serger
While you won’t serge the entire zipper in, your serger can be used to finish the edges of the zipper opening on the fabric before you attach the zipper with your sewing machine. This creates a clean, professional finish where the zipper tape will sit.
Finishing the Edge
Serge the raw edges of the fabric where the zipper will be inserted. This creates a strong, fray-free edge for your sewing machine to stitch to.
Creating Lettuce Edges on Knits
This is a fun technique for adding a playful, wavy edge to knit garments. It’s achieved by stretching the fabric while serging with a slightly higher tension on the upper looper.
The Stretch and Tension Balance
The key here is to stretch the knit fabric as you feed it through the serger, while also manipulating the tension of the upper looper to create the ruffled effect. This is another technique that requires experimentation on scrap fabric.
Troubleshooting Common Serger Issues
| Metrics | Data |
|---|---|
| Stitches per minute | 1100-1500 |
| Number of threads | 2, 3, 4, 5 |
| Types of stitches | Overlock, rolled hem, flatlock |
| Needle type | Universal, ballpoint, stretch |
Even experienced sewers encounter occasional hiccups. When your serger isn’t behaving, don’t panic. Most problems have straightforward solutions.
The Dreaded Thread Buildup
This is usually a sign of a threading error, or that the upper looper is not threaded correctly. Double-check your threading path for the upper looper, ensuring it is seated correctly in the tension discs and passes through all guides.
Inconsistent Stitch Length
This can be caused by inconsistent fabric feeding. Ensure you are guiding the fabric gently and not pushing or pulling. Also, check that your differential feed is set appropriately for your fabric.
Fabric Puckering
This is a common issue with knits. First, ensure your differential feed is set correctly to prevent the fabric from being stretched excessively. If that doesn’t resolve it, you may need to slightly loosen the tension on your needle threads and/or the lower looper.
Burned or Melted Fabric (Synthetic Fibers)
This is rarely a serger issue and more likely a problem with iron heat or excessive friction. However, if you suspect your serger is overheating, take a break and ensure your machine is clean and well-oiled.
Skipping Stitches
This is most often due to a dull or bent needle, or incorrect needle type for the fabric. Always ensure you are using the correct needle for your fabric and that it is inserted correctly and is sharp. Also, re-check your threading and tension.
Embracing the Serger: Your Journey to Sewing Mastery
Your serger is a powerful tool that can significantly enhance your sewing experience. It’s about more than just speed; it’s about achieving a level of finish that will make your handmade garments look polished and professional. Remember to be patient with yourself, consult your manual, and practice, practice, practice. Every stitch you sew, every thread you change, and every tension adjustment you make will build your confidence and skill. Don’t be afraid to experiment with different fabrics and techniques.
So, take a deep breath, thread those glorious threads, and unleash the potential of your serger. You’re not just sewing seams anymore; you’re mastering an art. The world of beautifully finished garments awaits you. Happy serging!
FAQs
What is a serger?
A serger, also known as an overlock machine, is a type of sewing machine that is used to create a professional and finished edge on fabric. It trims the seam allowance and encases the raw edge with thread, preventing fraying and providing a clean and polished look.
What are the main features of a serger?
Some common features of a serger include multiple thread spools for creating different types of stitches, a cutting blade for trimming the fabric, adjustable tension settings for different types of fabric, and differential feed for handling stretchy or slippery fabrics.
What types of stitches can a serger create?
A serger can create a variety of stitches including overlock stitches, flatlock stitches, rolled hems, and cover stitches. These stitches are used for finishing seams, creating decorative edges, and hemming garments.
What are the benefits of using a serger?
Using a serger can provide a professional finish to garments and other sewing projects, prevent fraying of fabric edges, and create strong and durable seams. It can also save time by trimming and finishing edges in one step.
How is a serger different from a regular sewing machine?
While a regular sewing machine is versatile and can be used for a wide range of sewing tasks, a serger is specifically designed for finishing edges and creating professional-looking seams. A serger uses multiple threads to create overlock stitches and has a cutting blade to trim the fabric, while a regular sewing machine typically uses one or two threads and does not have a cutting blade.