Getting Started with Sewing Machines: A Beginner’s Guide
Welcome to the exciting world of sewing! You’ve probably seen stunning handmade garments, unique home decor, or even just a simple mended tear, and thought, “I could do that!” Well, you absolutely can. Learning to use a sewing machine isn’t as daunting as it might seem. In fact, with a little guidance and practice, you’ll be stitching up a storm in no time. This guide is designed to take you from a curious beginner to a confident sewer, demystifying the machine and empowering you to bring your creative visions to life.
The first step on your sewing journey is selecting the right machine. Don’t be overwhelmed by the sheer variety available. For a beginner, simplicity and reliability are key. You’re not looking for a machine that can embroider a tapestry, but rather one that can handle basic stitches with ease.
Mechanical vs. Computerized Machines: Understanding the Differences
You’ll primarily encounter two types: mechanical and computerized.
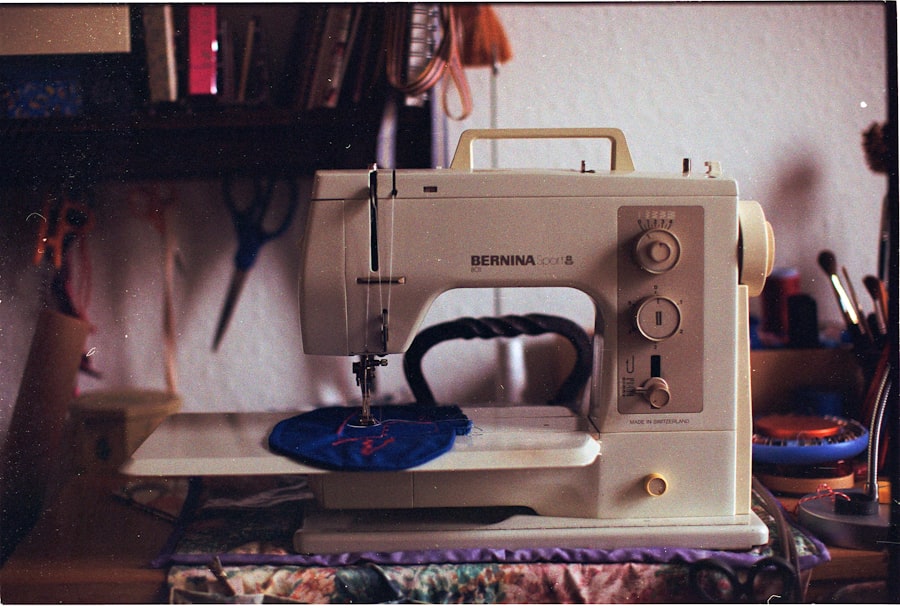
- Mechanical Machines: These are the workhorses of the sewing world. They are typically less expensive, easier to maintain, and incredibly durable. With fewer electronic components, there’s less that can go wrong. You often adjust settings using dials and levers. For a beginner, a mechanical machine is an excellent starting point, offering all the essential functions without unnecessary complexity. Think of them as the manual transmission cars of the sewing world – reliable, sturdy, and great for learning the fundamentals.
- Computerized Machines: These machines offer a wider array of stitches, automatic tension adjustments, and often have LCD screens for easy stitch selection. They can be more expensive and, due to their electronic nature, might require more specialized repairs if something goes awry. While tempting with their bells and whistles, for your first machine, these features might be more distracting than helpful. You can always upgrade later once you’ve mastered the basics.
Essential Features to Look For: What Matters Most
When you’re browsing, keep an eye out for these crucial features:
- Straight Stitch and Zigzag Stitch: These are your bread and butter. The straight stitch is for most basic seams, and the zigzag is perfect for finishing raw edges and preventing fraying.
- Adjustable Stitch Length and Width: Being able to control how long and wide your stitches are gives you versatility for different fabrics and projects.
- Reverse Stitch Lever/Button: This allows you to stitch backward to “lock” your stitches at the beginning and end of a seam, preventing them from unraveling. It’s a non-negotiable feature.
- Free Arm: This removable part of the machine lets you sew in a circle, which is invaluable for hemming pants, sleeves, and other small, tubular items. You’ll use this more than you think!
- Top-Loading or Front-Loading Bobbin: Both designs work well. Top-loading bobbins are generally easier to see and install, which can be a plus for new sewers.
- Easy Threading System: Some machines have arrows or numbers to guide you through the threading process, and some even offer automatic needle threaders. While not essential, an automatic needle threader can be a real time-saver and frustration reducer, especially in the early stages.
- Good Lighting: A built-in light illuminates your sewing area, making it easier to see your stitches and fabric.
- Presser Foot Lift: Make sure it has a decent lift height to accommodate thicker fabrics or multiple layers.
- Included Accessories: Look for basic presser feet (all-purpose, zipper, buttonhole), extra bobbins, needles, a seam ripper (your new best friend!), and a screwdriver.
Budgeting for Your First Machine: Setting Realistic Expectations
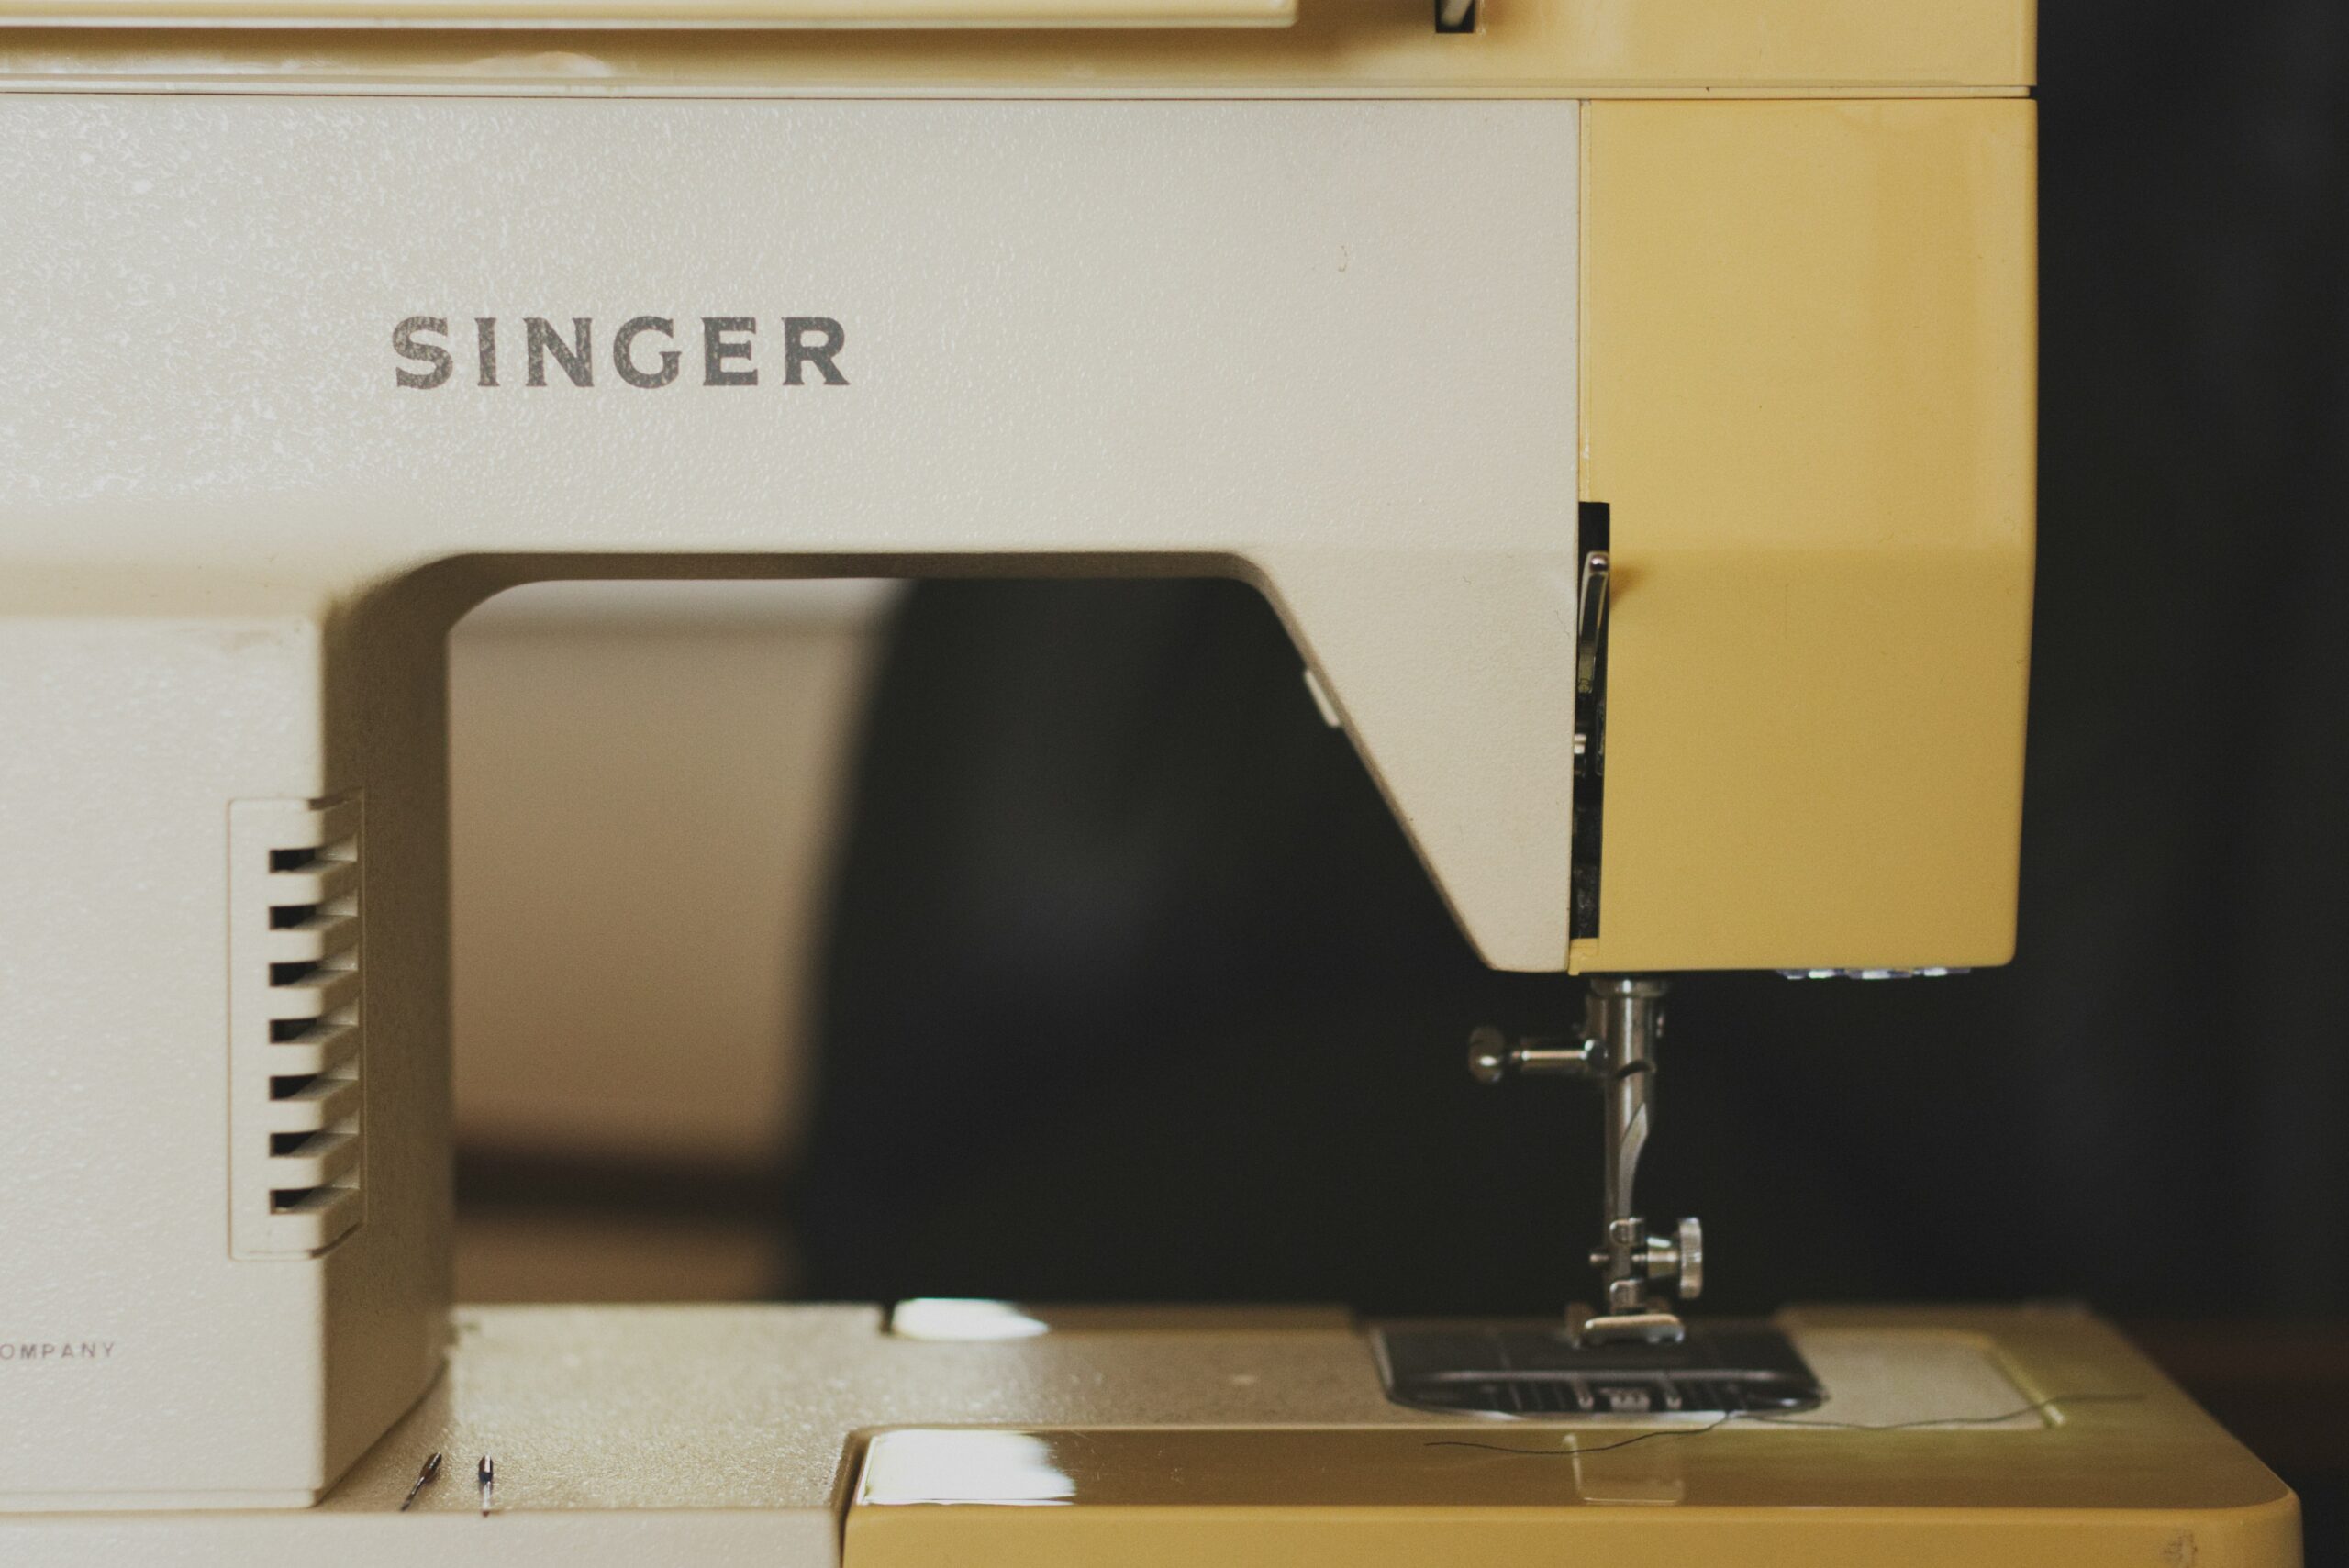
You don’t need to break the bank for your first sewing machine. You can find excellent beginner models from reputable brands like Brother, Singer, and Janome for anywhere between $100 and $300. Investing in a slightly better quality machine will often save you headaches in the long run, as cheaper models can sometimes be more temperamental.
Unpacking and Setting Up Your Machine: First Steps to Stitching
Once you’ve brought your new machine home, it’s time to get acquainted. Don’t just rip it out of the box and start sewing. Take your time to understand its components.
Reading Your Machine’s Manual: Your Ultimate Resource
This is arguably the most important step. Don’t skip it! Your machine’s manual contains vital information specific to your model. It will show you:
- How to thread the upper thread correctly.
- How to wind and insert the bobbin.
- Which needles to use for different fabrics.
- Troubleshooting tips for common issues.
- Maintenance instructions.
Treat your manual like a sacred text. Keep it close by and refer to it often. Most manufacturers also offer digital versions online, which can be handy for quick searches.
Identifying Key Parts: Getting to Know Your Machine
Before you even touch a needle, familiarize yourself with the major components of your sewing machine.
- Spool Pin: Holds your spool of thread.
- Thread Guides: Pathways that guide the upper thread through the machine.
- Tension Dial: Controls the tightness of the upper thread. Incorrect tension is a common cause of messy stitches.
- Take-Up Lever: Moves up and down as you sew, pulling the thread from the spool.
- Needle Clamp Screw: Holds the needle in place.
- Needle: The pointy bit that goes through the fabric!
- Presser Foot: Holds the fabric down against the feed dogs.
- Presser Foot Lifter: A lever that raises and lowers the presser foot.
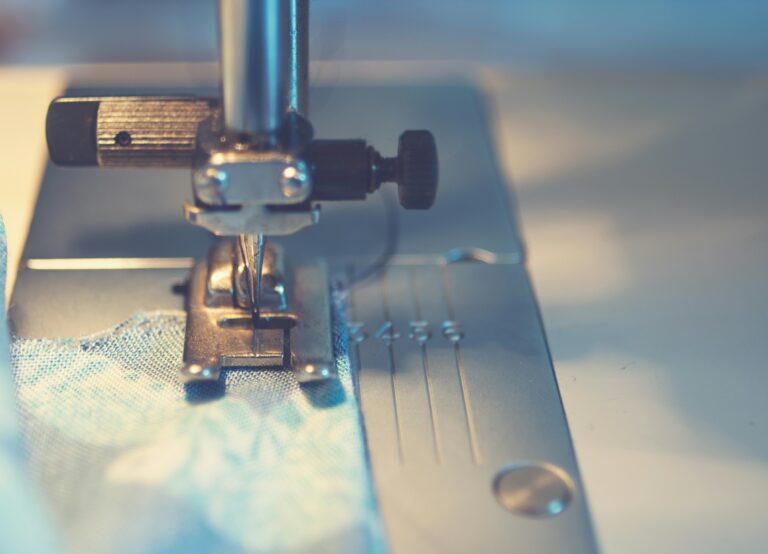
- Feed Dogs: Little teeth under the presser foot that move the fabric forward.
- Needle Plate/Throat Plate: The metal plate under the needle through which the needle passes. It often has seam allowance guides etched on it.
- Bobbin Winder: A spindle used to wind thread onto the bobbin.
- Bobbin Pin/Spindle: Holds the bobbin for winding.
- Handwheel (Balance Wheel): Manually raises and lowers the needle. Always turn it towards you.
- Stitch Selector: Dial or buttons to choose your stitch type.
- Stitch Length Dial: Adjusts how long each stitch is.
- Stitch Width Dial: Adjusts how wide (for zigzag and other decorative stitches) each stitch is.
- Reverse Lever/Button: Allows you to sew backward.
- Foot Pedal: Controls the machine’s speed.
- Power Switch: Turns your machine on and off.
- Power Cord Port: Where you plug in the power cord.
Threading Your Machine: The Top and Bottom Dance
Threading is perhaps the most crucial skill to master. Incorrectly threaded machines are the number one cause of frustrating sewing issues.
- Winding the Bobbin: Your bobbin needs to be filled with thread. Place your empty bobbin onto the bobbin pin, guide the thread from the spool through the winding guides, wrap it a few times around the bobbin, and push the bobbin winder to the side. Press the foot pedal to wind. Stop when the bobbin is full, but not overflowing.
- Inserting the Bobbin: This varies slightly between top-loading (drop-in) and front-loading bobbins. Follow your manual precisely. For top-loading, you simply drop it in and follow the thread path. For front-loading, you insert it into a bobbin case, then insert the case into the machine.
- Threading the Upper Thread: This is a sequential process. Place your thread spool on the spool pin, guide the thread through all the numbered or arrowed thread guides, down through the tension discs, up through the take-up lever, and finally, down to the needle. The needle groove should face you, and the thread should go through the eye of the needle from front to back.
Always thread your machine with the presser foot up. This keeps the tension discs open and allows the thread to seat correctly.
Your First Stitches: Practicing on Paper and Fabric
Now that your machine is set up and threaded, you’re ready for the exhilarating moment of making your first stitch. Start slow, build confidence, and don’t be afraid to make mistakes – that’s how you learn!
Paper Practice: Building Muscle Memory Without the Thread
Before you even introduce fabric, practice on paper. This helps you get a feel for the foot pedal and controlling the machine’s speed, steering straight lines, and turning corners.
- No Thread, Just Needle: Remove the thread (both upper and bobbin).
- Draw Lines: Draw straight lines, curves, and corners on a sheet of paper.
- “Sew” the Lines: Place the paper under the presser foot, lower the foot, and use the foot pedal to “sew” along your drawn lines. The needle will perforate the paper, giving you visual feedback on your accuracy.
- Speed Control: Practice varying your speed. You want to be able to sew slowly and steadily for precision, and also pick up a little speed when confident.
Straight Stitches: The Foundation of Most Projects
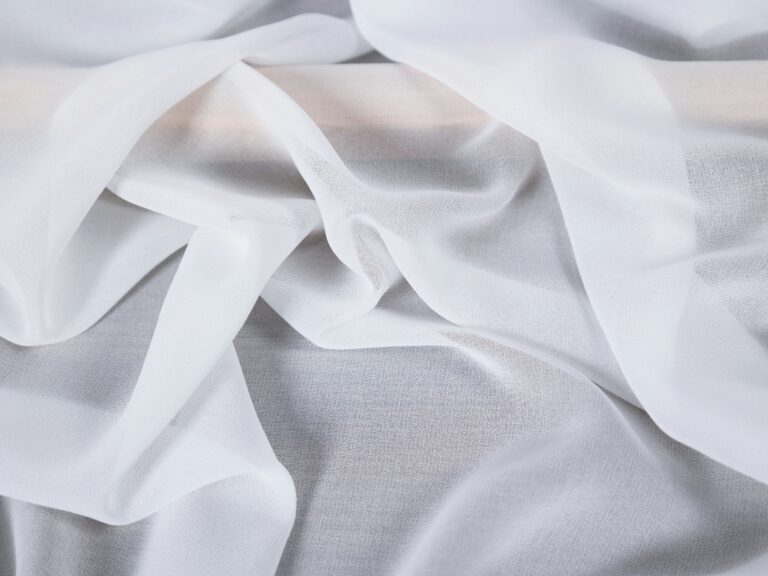
Once you’re comfortable with paper, it’s time for fabric. Start with a plain weave cotton fabric, like an old bed sheet or muslin.
- Choose Straight Stitch: Select the straight stitch (usually the default “0” or “A” on your stitch selector).
- Set Stitch Length: A medium stitch length (around 2.5 on most machines) is a good starting point for general sewing.
- Prepare Fabric: Cut several squares or rectangles (e.g., 6×6 inches).
- Position Fabric: Place the fabric under the presser foot, aligning the raw edge with one of the seam allowance guides on the needle plate (e.g., 5/8 inch or 1/2 inch).
- Lower Presser Foot: Crucial step! The machine won’t sew properly if the foot is up.
- Needle Down: Use the handwheel to bring the needle down into the fabric.
- Begin Sewing: Gently press the foot pedal.
- Backstitch: Sew a few stitches forward, then press and hold the reverse lever/button to sew a few stitches backward. This locks your stitches. Then, sew forward again.
- Guide, Don’t Push: Use your hands to gently guide the fabric, keeping it aligned with your chosen seam allowance. Don’t push or pull the fabric, as this can bend the needle or stress the machine. The feed dogs are designed to move the fabric.
- End with Backstitch: When you reach the end of your seam, backstitch a few stitches to lock it.
- Needle Up, Presser Foot Up: Use the handwheel to bring the needle to its highest position, then lift the presser foot.
- Remove Fabric: Gently pull the fabric away, cutting the thread tails (leaving them a few inches long).
Practice, practice, practice! Sew straight lines, parallel lines, intersecting lines. Your goal is consistent stitch length and straight seams.
Zigzag Stitches: Finishing Raw Edges
The zigzag stitch is your primary tool for finishing raw edges of fabric to prevent fraying.
- Select Zigzag Stitch: Choose the zigzag stitch on your machine.
- Adjust Stitch Length and Width: Start with a medium stitch length and width (e.g., 2.5 length, 3.0 width). You can experiment with these settings. A wider zigzag will cover more of the raw edge, while a shorter length will create a denser stitch.
- Position Fabric: Align the stitching so that the right swing of the zigzag just goes off the raw edge of the fabric. This encapsulates the raw fibers.
- Sew: Proceed as with a straight stitch, remembering to backstitch at the beginning and end.
Troubleshooting Common Issues: Navigating Bumps in the Road
Even seasoned sewers encounter problems. Don’t get discouraged! Many common issues have simple solutions.
Messy Stitches (Top and Bottom): Thread Tension Woes
This is the most common beginner frustration.
- Loopy Stitches on Top: If the stitches on the top of your fabric are loose and loopy, it usually means your bobbin thread is too tight, or more commonly, your upper thread tension is too loose. First, re-thread your upper thread with the presser foot up. If that doesn’t fix it, slightly increase your upper thread tension (turn the dial to a higher number).
- Loopy Stitches on Bottom: If the stitches on the bottom of your fabric are loose and loopy, it means your upper thread is too tight, or more commonly, your bobbin thread is too loose. Re-thread your upper thread with the presser foot up. If that doesn’t help, ensure your bobbin is correctly installed and the thread is pulled through any bobbin case tension springs. Adjusting bobbin tension is more advanced, so try fixing the upper tension first.
- General Rule: If you see problems on the opposite side of where the thread is originating, check the tension for the side that’s causing the problem. If it looks bad on the top, check the bottom thread. If it looks bad on the bottom, check the top thread.
Skipped Stitches: A Sign of the Wrong Needle
Skipped stitches often point to a needle issue.
- Wrong Needle for Fabric: Are you using a universal needle on stretchy knit fabric? That’s a recipe for skipped stitches. You need a ballpoint or stretch needle for knits. For denim, you need a denim needle.
- Bent or Dull Needle: Needles wear out! Over time, they can become bent or dull, leading to skipped stitches or fabric pulls. Change your needle frequently – after every 8-10 hours of sewing, or after every major project.
- Incorrect Needle Insertion: Ensure the needle is inserted correctly (flat side facing the back on most machines) and pushed all the way up into the needle clamp.
Thread Breaking: A Snapped Patience Moment
Broken thread can bring your momentum to a screeching halt.
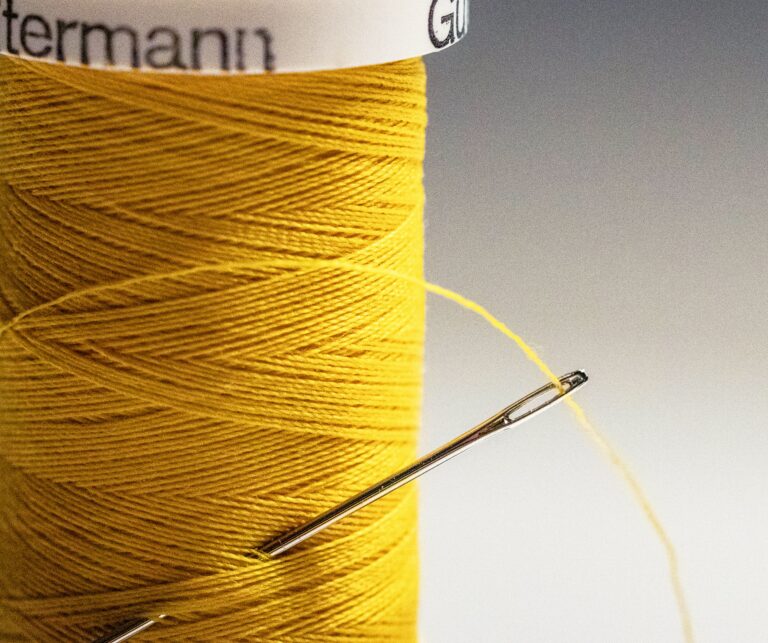
- Poor Quality Thread: Cheap, low-quality thread is more prone to breaking and can cause lint buildup. Invest in good quality all-purpose thread, such as Gutermann or Coats & Clark.
- Incorrect Threading: Go back to your manual and meticulously re-thread your entire machine, both upper and bobbin. A missed guide or a snagged thread can cause breaks.
- Wrong Needle Size/Type: A needle that’s too small for the thread, or the wrong type for the fabric, can cause friction and breaks.
- Tension Too High: If your upper thread tension is too tight, it will snap.
- Burrs on Machine Parts: Occasionally, a tiny burr on a metal part (like the needle plate or bobbin case) can snag the thread. If you suspect this, consult a repair technician.
Fabric Bunching/Jams: When Your Machine Eats Your Project
- Needle Plate Hole: If you start a seam too close to the edge of thin fabric, the fabric can get pushed down into the needle plate hole. To prevent this, always start sewing a little bit into the fabric, or use a “leader” (a small scrap of fabric) to start your seam, feeding your actual project right after it.
- No Presser Foot Down: Did you forget to lower the presser foot? The fabric needs to be held down firmly.
- Incorrect Presser Foot: Are you using the right presser foot for your stitch? Some decorative stitches require a special foot.
Patience is your greatest tool when troubleshooting. Take a deep breath, consult your manual, and systematically check each potential cause.
Your First Project: Applying Your New Skills
| Feature | Description |
|---|---|
| Stitch Options | Basic stitches for simple projects |
| Automatic Needle Threader | Helps beginners thread the needle easily |
| Easy to Use | User-friendly design for beginners |
| Instructional Manual | Comes with detailed instructions for beginners |
| Accessories | Includes essential accessories for starting out |
You’ve chosen your machine, understood its parts, mastered threading, and practiced your stitches. You’re ready for your inaugural project! Start small and simple to build confidence.
Easy Beginner Projects: Building Confidence One Stitch at a Time
Avoid tackling a complex garment with multiple pieces right away. Think practical and achievable.
- Simple Pillowcase: This is often considered the “hello world” of sewing projects. It involves straight seams and a couple of folds, making it perfect for practicing consistency.
- Tote Bag: Another excellent project for straight seams, corner turning, and strap attachment. You can create a simple, unlined bag in an hour or two.
- Scrunchies: Small, quick, and satisfying! Great for using up fabric scraps and practicing a bit of circular sewing (without a free arm, though you can hand-gather).
- Mending: Do you have any loose seams, a ripped hem, or a button that needs reattaching (some machines do buttonholes too!)? Mending is a fantastic way to apply your new skills to practical use.
- Placemats or Napkins: These are essentially fabric rectangles sewn together, perfect for practicing straight stitching and turning corners precisely.
Reading a Sewing Pattern: Deciphering the Blueprint
Once you’re ready to move beyond simple rectangles, you’ll need to learn how to read a sewing pattern.
- Pattern Envelope: Pay attention to the fabric requirements, notions (zippers, buttons, elastic), and size chart.
- Pattern Pieces: These are the actual templates you’ll cut out. Understand grainlines, notches (for matching pieces), and various markings.
- Instructions: Read through all the instructions before you start cutting fabric. Visualize each step. Professional patterns often have illustrations or diagrams to help.
- Seam Allowance: Most commercial patterns include a seam allowance (e.g., 5/8 inch). This means you sew that distance from the raw edge of the fabric.
Essential Sewing Tools: Beyond the Machine
While your machine is the star, a few other tools will make your sewing life much easier.
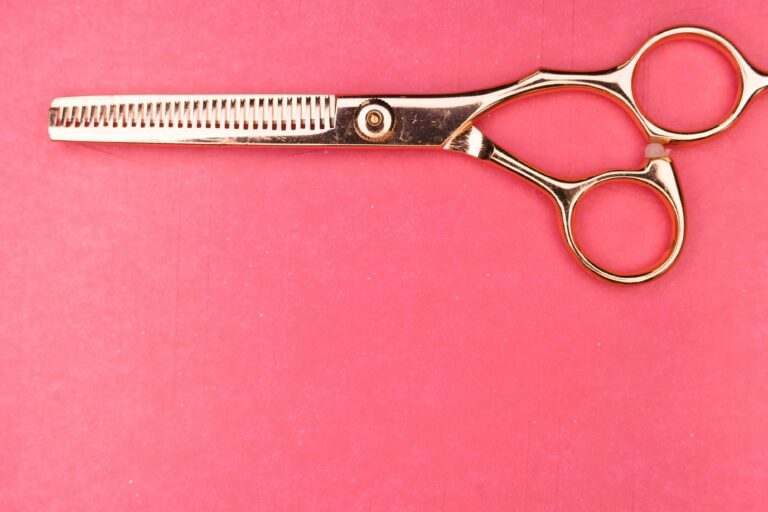
- Fabric Scissors: Dedicated fabric scissors. Never use them for paper! Paper dulls blades quickly. Invest in a good sharp pair.
- Pins: To hold fabric pieces together.
- Seam Ripper: You will make mistakes. Embrace the seam ripper! It’s there to help you neatly unpick stitches without damaging your fabric.
- Measuring Tape/Ruler: For accurate measurements.
- Chalk or Fabric Marker: To mark lines on fabric.
- Iron and Ironing Board: Pressing your seams as you go is absolutely crucial for neat, professional-looking results. Don’t skip this step!
- Thread Snips: Small scissors for quickly cutting threads.
- Extra Needles and Bobbins: Always good to have on hand.
You’ve equipped yourself with the knowledge and the tools to embark on a fulfilling sewing adventure. Remember, every master once started as a beginner. Be patient with yourself, celebrate your small victories, and embrace the learning process. The world of handmade possibilities awaits your unique touch! Happy stitching!
FAQs
What is a sewing machine for beginners?
A sewing machine for beginners is a machine designed for those who are new to sewing. It typically has user-friendly features and functions that make it easier for beginners to learn and use.
What features should I look for in a sewing machine for beginners?
When choosing a sewing machine for beginners, look for features such as easy threading, adjustable stitch length and width, automatic buttonholer, and a variety of built-in stitches. A machine with a drop-in bobbin and a free arm for sewing cuffs and sleeves can also be helpful for beginners.
What are some popular brands of sewing machines for beginners?
Some popular brands of sewing machines for beginners include Brother, Singer, Janome, and Bernette. These brands offer a range of models with beginner-friendly features and functions.
What is the average price range for a sewing machine for beginners?
The average price range for a sewing machine for beginners is typically between $100 to $300. However, there are also more affordable options available for those on a budget, as well as higher-end models with advanced features for those willing to invest more.
Are there any additional accessories or tools I should consider purchasing with a sewing machine for beginners?
In addition to the sewing machine itself, beginners may want to consider purchasing accessories such as extra bobbins, sewing machine needles, a seam ripper, fabric scissors, and a measuring tape. A beginner-friendly sewing book or online tutorials can also be helpful for learning how to use the machine and improve sewing skills.