Mastering the Sewing Machine Bobbin
You’ve finally done it. You’ve brought that gleaming, promising sewing machine home, unboxed it, admired its sleek lines, and maybe even threaded the top. But then you hit a snag. A round, mysterious component with a tiny hole, and a thread that seems to defy logic. Ah, the bobbin! That often-overlooked but utterly essential part of your sewing machine holds the key to perfectly formed stitches and a frustration-free sewing experience. You might think it’s a simple spool of thread, but you’d be sorely mistaken. Mastering the bobbin isn’t just about winding it; it’s about understanding its role, choosing the right kind, and ensuring it performs flawlessly every single time. Get ready to banish those tangled nests and skipped stitches forever, because you’re about to become a bobbin authority.
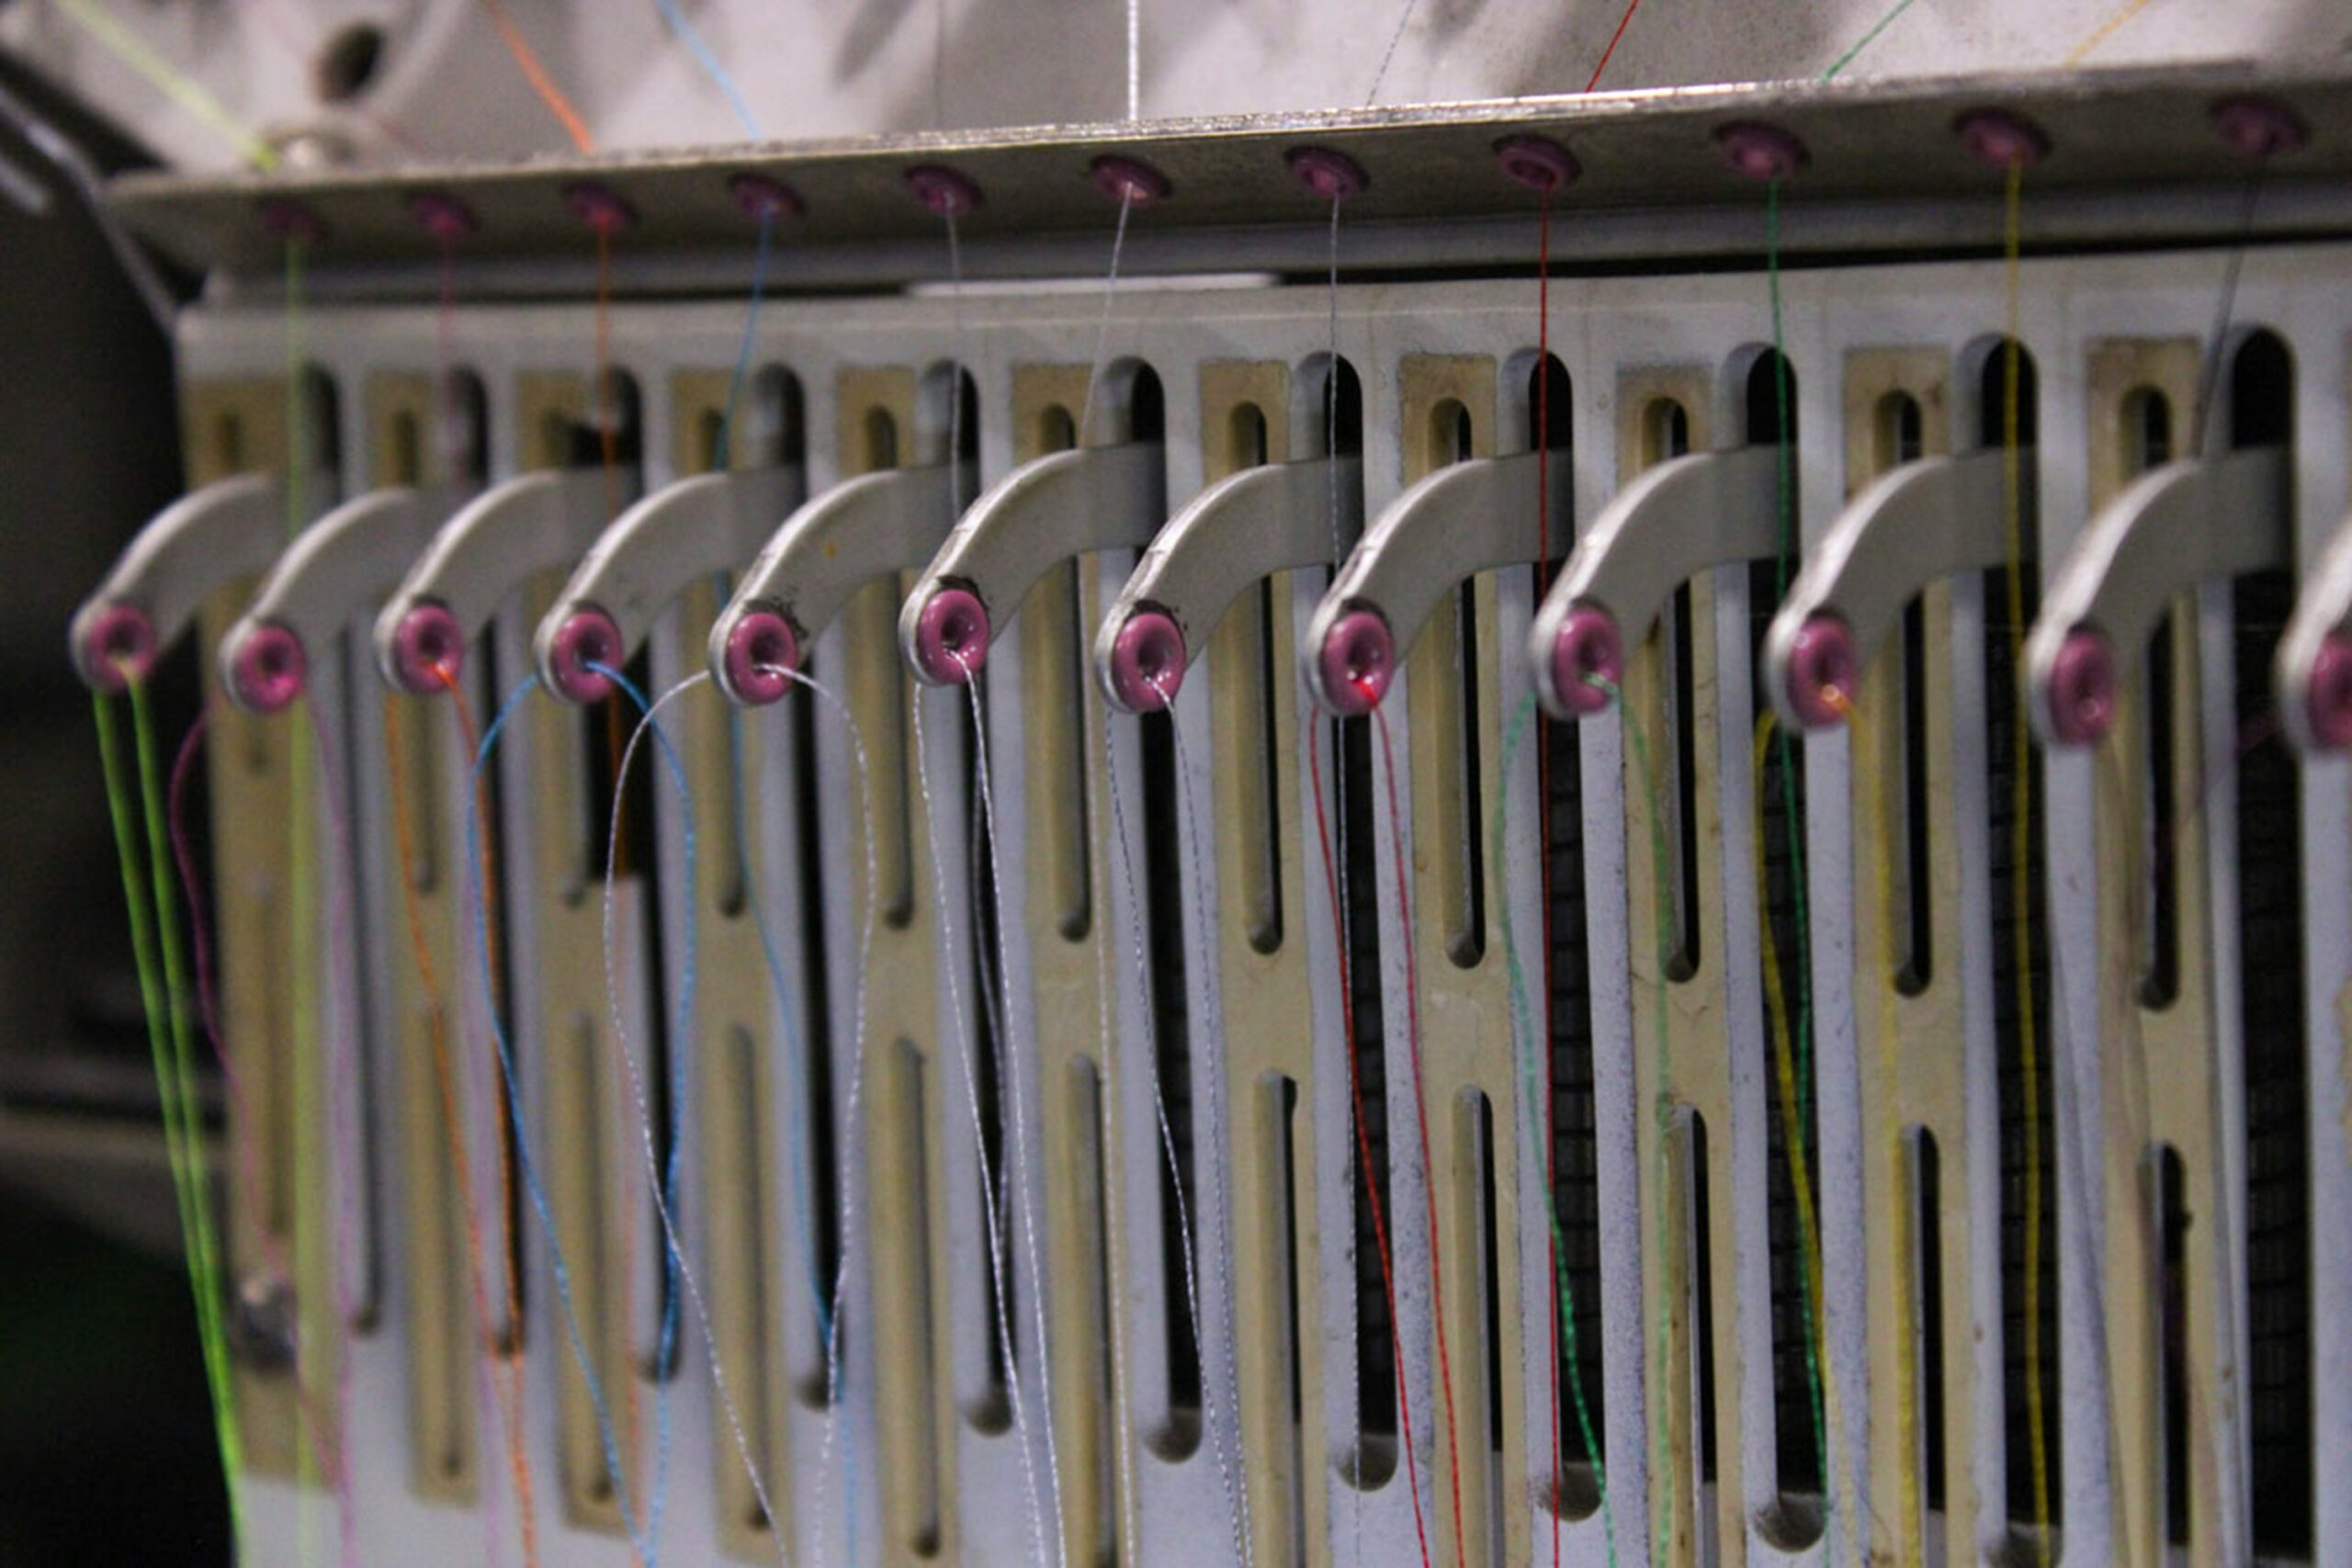
Before you even think about winding thread onto a bobbin, you need to understand what it actually does. You see, your sewing machine uses two threads to form a lockstitch: the top thread from your spool and the bottom thread from your bobbin. While the top thread is visible on the upper side of your fabric, the bobbin thread is responsible for the underside. The needle carries the top thread down through the fabric, forming a loop. A hook or rotary mechanism then catches this loop and wraps it around the bobbin thread, pulling them together to create that neat, strong interlocked stitch. Without a properly wound and correctly tensioned bobbin, your sewing machine simply can’t make a stitch. It’s the unsung hero, the quiet workhorse, of every sewing project you undertake.
Why the Bobbin is So Crucial
You might wonder why a little spool of thread warrants so much attention. Consider this: a poorly wound bobbin can lead to a multitude of sewing disasters. Think bird’s nests of tangled thread on the underside of your fabric, skipped stitches that leave your seams gaping, uneven tension that puckers your fabric, or even broken needles as the machine struggles to pull the threads together. Conversely, a perfectly wound and correctly inserted bobbin ensures smooth, even stitches, strong seams, and a satisfying whirring sound from your machine rather than a grumbling groan. It literally underpins the quality of your entire project.
Different Types of Bobbins: A Crucial Distinction
This is where many new sewers make their first mistake. Bouncily grabbing any old bobbin from a craft store bin and hoping for the best is a recipe for disaster. Sewing machines are incredibly specific about the bobbins they use. There are two main categories:
- Class 15 Bobbins: These are the most common type, typically plastic or metal, and have flat tops and bottoms. They’re often slightly wider than other types. You’ll find these in many modern domestic sewing machines, especially those from Brother, Janome, and some Singer models.
- Class 66 Bobbins: These bobbins are characteristic of many older Singer machines, and some newer ones too. They are often slightly domed on the top and bottom, or have a slight bevel. They are generally narrower than Class 15 bobbins.
- Specialty Machine Bobbins: Industrial machines, embroidery machines, and even some high-end domestic machines might use unique bobbin sizes or materials. Some computerized machines, for instance, prefer bobbins with different sensor-friendly features. Always, always, refer to your sewing machine’s manual to determine the exact class and material (plastic or metal) of bobbin your machine requires. Using the wrong type can cause endless headaches, jamming, and even damage to your machine. For example, a metal bobbin in a machine designed for plastic can wear down the bobbin case, while a plastic bobbin in a metal-only machine might melt or distort during high-speed sewing.
The Art of Winding a Flawless Bobbin
Now that you understand the bobbin’s significance and have identified the correct type for your machine, it’s time to wind it. This isn’t a task to be rushed; a well-wound bobbin is the foundation of a good stitch.
Steps for Perfect Bobbin Winding
While specific steps may vary slightly depending on your machine model, the general principles remain the same. Always consult your machine’s manual for precise instructions.
- Retrieve Your Empty Bobbin: Grab an empty bobbin of the correct type for your machine.
- Place Your Thread Spool: Position your spool of thread on the horizontal or vertical spool pin. If your machine has a spool cap, place it over the spool to keep the thread from snagging.
- Follow the Winding Path: Most machines have a designated path for bobbin winding. This usually involves threading the bobbin through a winding tension disk or guide. This disk is crucial as it creates the necessary tension for even winding. Skip this step, and you’ll end up with a loose, messy bobbin.
- Insert Thread into Bobbin Hole: Take the end of your thread and thread it through the small hole on the top of your empty bobbin, from the inside to the outside. Pull a few inches of thread through.
- Place Bobbin on Winder Spindle: Place the bobbin onto the bobbin winder spindle, ensuring it’s seated firmly.
- Secure the Thread: Hold the thread tail originating from the bobbin for the first few revolutions. Some machines have a small notch or clip to secure the thread tail.
- Engage the Bobbin Winder: Push the bobbin winder spindle to the right (or whatever direction your machine indicates) to engage the bobbin winding mechanism. This often disengages the sewing needle, so it won’t move while you’re winding.
- Press the Foot Pedal (or Start Button): Gently press your foot pedal or the start/stop button. The bobbin will begin to spin and fill with thread.
- Monitor the Winding: Watch as the bobbin fills. A perfectly wound bobbin will be smooth and even, with no visible bumps or gaps. It should fill “should-to-shoulder” – meaning the thread goes from one edge of the bobbin to the other without tapering significantly. If you see uneven winding, stop, unthread, and try again, ensuring your thread is correctly passing through the tension disk.
- Stop When Full: Your machine will usually have an automatic stop mechanism when the bobbin is full. If not, stop when the bobbin is almost full but not bulging. Overfilling a bobbin can cause tension issues and jamming.
- Disengage and Trim: Push the bobbin winder spindle back to the left (or its original position) to disengage it. Cut the thread connecting the bobbin to the spool, leaving a small tail.
Common Bobbin Winding Mistakes to Avoid
- Skipping the Tension Disk: This is perhaps the most common error. Without proper tension during winding, your bobbin will be loose and uneven, leading to skipped stitches and tangles.
- Overfilling the Bobbin: A bulging bobbin won’t fit correctly in the bobbin case, or if it does, it will cause excessive friction and tension problems.
- Underfilling the Bobbin: While not as disastrous as overfilling, it means you’ll run out of bobbin thread more quickly, interrupting your sewing flow.
- Winding Too Fast or Too Slow (Initial Stages): Winding too fast initially can lead to the thread snapping or jumping off the bobbin. Winding too slowly might not provide enough tension. A steady, moderate speed is best.
- Using Damaged Bobbins: If a bobbin is cracked, bent, or has rough edges, discard it. It can snag thread, damage your machine, and cause tension issues.
- Mixing Thread Types: While some adventurous sewers might try this, generally, you want your bobbin thread to be the same weight and type as your top thread for consistent tension and stitch appearance. The exception is specialized bobbin thread for embroidery or very fine fabrics.
Installing the Bobbin: Drop-in vs. Front-Load
Once your bobbin is wound, you need to properly install it. There are two primary types of bobbin systems in home sewing machines, and understanding yours is key.
Drop-in (Top-Load) Bobbins
These are the most common in modern machines and are generally considered easier to use. You typically have a clear cover plate on the stitch plate that you slide open to access the bobbin area.
- Open the Bobbin Cover: Slide or lift the transparent cover plate on your machine’s stitch plate.
- Insert the Bobbin: With the thread unwind direction correct (usually counter-clockwise, forming a “P” or “9” shape when pulled from the top, but always check your manual), drop the bobbin into the bobbin case.
- Thread the Bobbin Case: Guide the thread into the tension slot or groove, and then usually under a small metal guide, until it clicks or seats firmly. There’s often an arrow indicating the path.
- Pull Out Some Tail: Pull out a 4-6 inch tail of thread.
- Replace the Cover: Close the bobbin cover plate.
- Catch the Bobbin Thread: This is a crucial step! Hold the end of your top thread firmly. Turn your machine’s handwheel towards you (never away) ONE full revolution. The needle will go down, catch the bobbin thread loop, and pull it up through the needle plate opening. You might need to gently tug on the top thread to fully bring the loop up.
- Pull Out Both Threads: Pull both the top and bobbin threads back and under the presser foot, towards the back of the machine. You’re now ready to sew!
Front-Load (Side-Load) Bobbins
These are common in many older machines and some heavy-duty models. They involve a separate bobbin case that is inserted into a shuttle hook area.
- Open the Bobbin Compartment: This is usually a flap or cover on the front or side of your machine, below the needle plate.
- Insert Bobbin into Bobbin Case: Hold the bobbin case. Insert the wound bobbin into the bobbin case. The direction the thread unwinds from the bobbin is critical here – usually clockwise, but confirm with your manual.
- Thread the Bobbin Case: Guide the thread through the tension slot on the side of the bobbin case. You’ll hear a slight click as the thread seats properly. Pull a 4-6 inch thread tail.
- Insert Bobbin Case into Machine: Hold the hinged latch on the bobbin case and slide the entire bobbin case into the shuttle hook assembly in the machine. It should snap firmly into place. Release the latch.
- Close the Compartment: Close the bobbin compartment cover.
- Catch the Bobbin Thread: Similar to drop-in bobbins, hold the top thread, and turn the handwheel towards you one full revolution to bring up the bobbin thread loop. Tug gently to fully retrieve it.
- Pull Out Both Threads: Pull both threads back and under the presser foot, ready for sewing.
Why Correct Insertion Matters
An incorrectly inserted bobbin can cause major headaches. If the thread unwinds in the wrong direction, the tension will be off, leading to either loose or tight stitches, or even complete tangles. If the thread isn’t seated correctly in the tension spring of the bobbin case (especially for front-load), the bobbin thread will be incredibly loose, creating a “bird’s nest” on the bottom of your fabric. Take your time with this step; it’s fundamental.
Troubleshooting Common Bobbin Problems

Even with the best winding and insertion, bobbins can sometimes misbehave. Here are some of the most common issues you might encounter and how to fix them.
Bird’s Nests (Tangled Bobbin Thread on Underside)
This is arguably the most common and frustrating bobbin-related issue. You see a beautiful top stitch, but flip your fabric, and it’s a messy wad of thread.
- Cause: The top thread isn’t threaded correctly or its tension is too loose, or the bobbin thread isn’t seated properly in its tension spring/path. The top thread is pulling too much of the bobbin thread up.
- Solution:
- Re-thread the entire top thread: Remove the spool, lift the presser foot (this opens the tension discs), and re-thread from scratch, ensuring it passes through all guides and tension discs.
- Check bobbin insertion: Remove the bobbin, and re-insert it, making sure the thread is correctly seated in its tension path/spring.
- Increase top thread tension slightly: If everything else seems correct, your top tension might be too low.
- Ensure presser foot is down: You’d be surprised how often this is the culprit! Sewing with the presser foot up means there’s no tension on the top thread.
Skipped Stitches
When your machine fails to form a stitch at regular intervals.
- Cause: Often related to the needle or top threading, but a poorly wound or inserted bobbin can contribute. Incorrect bobbin timing can also be a factor (less common for user-fixable issues).
- Solution:
- Check the needle: Is it inserted correctly? Is it bent? Is it the right type for your fabric? Replace if in doubt.
- Re-thread top and bobbin: Ensure both are properly threaded and seated.
- Check bobbin for damage: A bent or malformed bobbin can interfere with hook timing.
Uneven Stitches / Puckering
Stitches that appear loose on one side, tight on the other, or fabric that gathers or puckers.
- Cause: Imbalance between top and bobbin thread tension.
- Solution:
- Evaluate Bobbin Tension (Front-Load): For front-load bobbins, the bobbin case itself has a small screw to adjust tension. This is a delicate adjustment – turn it only tiny increments at a time (e.g., 1/8 to 1/4 turn clockwise to tighten, counter-clockwise to loosen). Don’t touch this screw unless explicitly instructed by troubleshooting steps for your machine.
- Re-wind Bobbin: If the bobbin was wound unevenly, it will deliver uneven tension. Rewind it carefully.
- Adjust Top Tension: Start by adjusting your top tension, as it’s easier to access. Increase top tension if stitches are loose on top, decrease if they are loose on the bottom.
Bobbin Thread Breaks Repeatedly
Snapping bobbin thread is incredibly annoying and can be caused by various factors.
- Cause: Damaged bobbin, incorrect threading, poor quality thread, too much bobbin tension, lint buildup.
- Solution:
- Inspect Bobbin: Check for nicks, burrs, or damage on the bobbin itself. Discard if damaged.
- Re-thread Bobbin: Ensure it’s correctly inserted and seated in its tension path.
- Check Thread Quality: Is your thread old, weak, or low quality? Try a fresh spool of good-quality thread.
- Clean Bobbin Area: Lint and fuzz can build up in the bobbin case or under the stitch plate, obstructing the thread path or interfering with tension. Clean regularly with a brush.
- Lighten Bobbin Tension (Front-Load): If you’ve ruled out other issues, you might need to slightly loosen the tension screw on your bobbin case.
Maintenance and Best Practices
| Brand | Model | Bobbin Type | Bobbin Size |
|---|---|---|---|
| Singer | Heavy Duty 4452 | Class 15 | 11.5 mm |
| Brother | CS6000i | SA156 | 11.5 mm |
| Janome | Magnolia 7318 | Plastic | 20.5 mm |
Your bobbin system is a finely tuned mechanism. A little care goes a long way in ensuring it continues to perform reliably.
Keeping Your Bobbin Area Squeaky Clean
- Regular Lint Removal: Lint is the enemy of smooth sewing! Bits of fabric fiber, dust, and thread fragments accumulate in the bobbin area, especially around the bobbin case, shuttle hook, and tension mechanism. This buildup can snag thread, cause tension issues, and even damage your machine.
- Frequency: After every 2-3 hours of sewing, or after every large project.
- Tools: Use a small brush (often supplied with your machine) or a specialized sewing machine cleaning brush. Avoid canned air as it can push lint further into the machine’s inaccessible parts.
- Procedure: Remove the needle plate, presser foot, and the bobbin/bobbin case. Use your brush to carefully sweep away any lint and debris from the hook race, feed dogs, and around the bobbin housing.
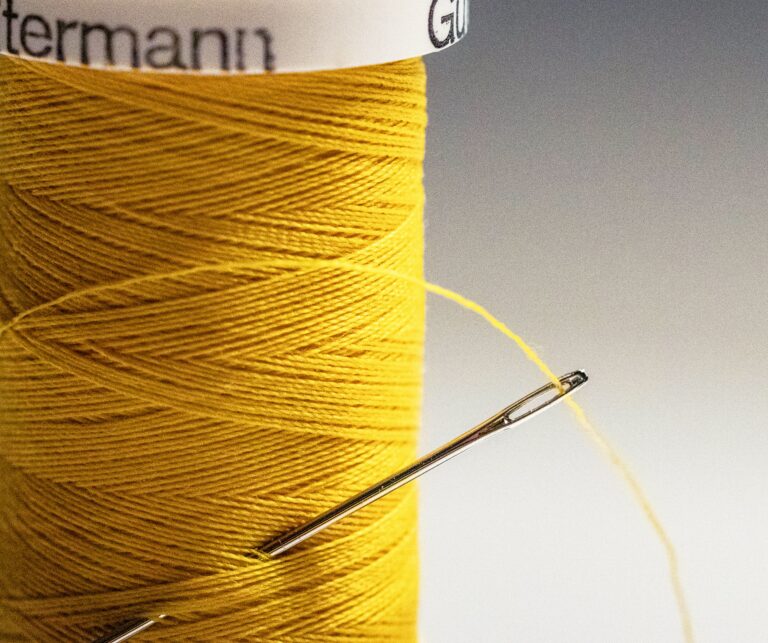
The Right Thread for the Right Bobbin
- Matching Threads: As a general rule, use the same type and weight of thread in your bobbin as on your top spool. This helps ensure balanced tension and a consistent stitch appearance.
- Exceptions:
- Embroidery: Specialized bobbin thread for embroidery machines is often thinner and designed to be less noticeable.
- Fine Fabrics: Sometimes a slightly finer bobbin thread is used for very delicate fabrics to minimize bulk.
- Heavy Duty Sewing: If using very heavy top thread (e.g., for denim or canvas), you might use a slightly lighter, but still strong, bobbin thread.
- Quality Over Quantity: Investing in good quality thread will save you countless headaches. Cheap, low-quality thread is often weak, inconsistent in thickness, and produces more lint, leading to frequent thread breaks and tension problems.
Organization is Key
- Bobbin Storage: Don’t just toss your bobbins into a loose pile. This can lead to tangled thread, lost bobbins, and difficulty finding the right color.
- Bobbin Boxes/Cases: These are cheap, readily available, and provide individual compartments for each bobbin, keeping them neat and tangle-free.
- Bobbin Clasps/Huggies: Small rubber or plastic rings that fit around a bobbin to keep the thread tail from unwinding and tangling.
- Labeling (Optional but Recommended): If you keep bobbins pre-wound with different thread types or colors, consider labeling the inside of your bobbin box or even wrapping a tiny label around the bobbin to identify its contents.
Mastering the sewing machine bobbin isn’t a complex mystery, but rather a journey of understanding, precision, and regular maintenance. By taking the time to wind it correctly, insert it properly, troubleshoot issues systematically, and keep your machine clean, you’ll unlock the true potential of your sewing machine. No more frustrated sighs, no more unraveling seams – just smooth, consistent stitches and the joy of creating beautiful things. Go forth, confident bobbin master, and sew!
FAQs
What is a sewing machine bobbin?
A sewing machine bobbin is a small, cylindrical plastic or metal spool that holds the lower thread in a sewing machine. It is placed in the bobbin case underneath the needle plate.
How does a sewing machine bobbin work?
The sewing machine bobbin works by holding the lower thread and allowing it to be pulled up through the fabric by the needle, creating a stitch. The bobbin is threaded and placed in the bobbin case, and as the machine operates, it rotates and releases the thread to create the lower part of the stitch.
What are the different types of sewing machine bobbins?
There are two main types of sewing machine bobbins: front-loading bobbins and top-loading bobbins. Front-loading bobbins are inserted into a bobbin case that is then placed in the machine, while top-loading bobbins are placed directly into a compartment on the top of the machine.
How do I wind a sewing machine bobbin?
To wind a sewing machine bobbin, first, place the spool of thread on the spool pin and thread the machine as usual. Then, disengage the needle and wind the thread around the bobbin a few times. Place the bobbin on the bobbin winder and engage the winder. Press the foot pedal to start winding the bobbin until it is full.
How do I troubleshoot bobbin issues with my sewing machine?
If you are experiencing issues with your sewing machine bobbin, such as uneven tension or thread jams, try rethreading the bobbin and adjusting the tension. Make sure the bobbin is inserted correctly and that the thread is wound evenly. If problems persist, consult the sewing machine manual or seek professional assistance.